
What Is the Cost of Open-Cell Spray Foam Insulation in Jupiter, FL?
Open-cell spray foam insulation in Jupiter, Florida, typically costs between $1.50 and $3.50 per square foot installed, with most homeowners…

You feel it every month when the utility bill arrives. That nagging sense that your home is working against you, leaking expensive conditioned air into the outdoors. Maybe it’s the drafty living room window, the upstairs bedroom that’s always too hot in the summer, or the chilly floors in the winter. These aren’t just minor annoyances; they are symptoms of poor building performance. Many homeowners jump to solutions like replacing windows or upgrading their HVAC system, hoping for a fix. While these can help, they often fail to address the root cause of the problem: air leakage. Your home’s thermal envelope, the barrier between the inside and outside, is likely full of hidden gaps and cracks.
This is where a data-driven approach becomes essential. Simply spraying foam into an attic or wall cavity without understanding the building’s unique airflow dynamics is like navigating without a map. You might be heading in the right direction, but you’re missing the most direct and effective route. Combining spray foam insulation with a professional energy audit changes the game. Recently updated insulation services also highlight how targeted approaches are helping homeowners achieve measurable energy savings. The audit acts as a diagnostic tool, pinpointing exactly where your home is losing energy. The spray foam then acts as the targeted solution, sealing those leaks with precision.
This guide is built on years of in-the-field experience, diagnosing and solving performance issues in countless homes. We will walk you through the entire process, step by step. You’ll learn how professionals use advanced diagnostic tools to create a baseline of your home’s performance, how that data informs a precise insulation strategy, and how a post-installation assessment verifies that the job was done right. By the end, you’ll understand how to move beyond guesswork and make informed decisions that create a truly comfortable, efficient, and healthy home.
Before we get into the process, it’s important to understand why these two things work so well together. Think of your home as a complete system. Every part, from the foundation to the roof, interacts. An energy audit evaluates this system holistically, while spray foam is one of the most effective treatments for improving it.
Spray polyurethane foam (SPF) is unique among insulation materials because it serves as both an insulator (resisting heat transfer) and an air barrier. When applied, it expands to fill every crack and crevice, creating a continuous, monolithic seal. This air-sealing capability is its greatest strength. According to the U.S. Department of Energy, air leakage can account for 25% to 40% of the energy used for heating and cooling a typical home. An energy audit is the only way to accurately measure that leakage and identify its specific sources.
Without an audit, you’re just guessing. You might insulate the attic and see some improvement, but the audit might have revealed that your biggest air leaks were actually in the rim joist in your basement or around recessed lighting fixtures. The audit provides the roadmap, ensuring the spray foam is applied where it will have the maximum impact on your home’s comfort and energy bills. This scientific approach removes speculation and replaces it with measurable data, both before and after the work is done.
A professional energy audit is a comprehensive health check-up for your home. It’s a systematic process that uses specialized equipment to measure performance and identify opportunities for improvement. This is the critical first phase that informs the entire project.
The process begins with a conversation. An energy advisor will discuss the specific problems you’re experiencing, such as high bills, drafts, or uneven temperatures. They’ll also review your past energy bills to understand your home’s consumption patterns.
Following this, the advisor conducts a thorough top-to-bottom visual inspection. They are trained to spot common problem areas that an average homeowner might miss. This includes:
This is where the science really comes into play. A blower door test is the single most important diagnostic for measuring a home’s overall airtightness. The technician sets up a powerful, calibrated fan in an exterior doorway, which pulls air out of the house and lowers the indoor air pressure.
As the fan runs, outside air is pulled in through all the unsealed cracks and openings. The fan’s software measures how much air is required to maintain a standard pressure difference (usually 50 Pascals). The result is expressed in “Air Changes per Hour at 50 Pascals” (ACH50). A higher number indicates a leakier house. A report from the Lawrence Berkeley National Laboratory highlights that many existing homes have leakage rates of 10 ACH50 or more, while modern energy-efficient standards aim for 3 ACH50 or less.
While the test is running, the auditor can walk through the house to feel and find the specific locations of the leaks, which are often impossible to detect under normal conditions.
An infrared (IR) camera, also known as a thermal imager, makes heat visible. It shows temperature differences across surfaces, revealing hidden problems with insulation and air sealing. On a cool day, an IR camera will show cold spots (often appearing blue or purple) where insulation is missing or where cold air is leaking into the home. On a hot day, it will show hot spots (appearing red or yellow) where heat is getting in.
Combining thermal imaging with a blower door test is particularly effective. With the house depressurized, air leaks are exaggerated, making them show up clearly on the thermal camera as distinct streaks or patterns. This allows the auditor to document thermal bypasses with photographic evidence.
Once the inspection and diagnostic tests are complete, the energy advisor compiles all the findings into a detailed report. This report is more than just a list of problems; it’s a customized plan of action. It will prioritize recommendations based on cost-effectiveness and impact.
The blower door numbers, thermal images, and visual inspection notes are used to create a precise “scope of work” for the spray foam application. Instead of a generic quote to “insulate the attic,” the plan might specify sealing the attic floor, paying special attention to the gaps around the chimney and wiring penetrations that were identified during the tests.
Here are some of the most common air leakage points identified during an audit:
| Location | Common Issues | Why It Matters |
|---|---|---|
| Attic Floor | Gaps around plumbing, wiring, chimneys, and attic hatches. | Creates a powerful “stack effect,” pulling cold air in low and pushing warm air out high. |
| Rim Joists | The wooden frame sits on top of the foundation in a basement or crawlspace. | A massive source of air infiltration that directly cools floors above. |
| Ductwork | Leaky seams and connections in unconditioned spaces like attics or crawlspaces. | It can lose up to 30% of conditioned air before it ever reaches the rooms. |
| Recessed Lights | Older “can” lights are often not airtight, creating a direct hole into the attic. | Multiple fixtures can add up to a significant amount of heat loss. |
| Windows & Doors | Poorly sealed frames and weatherstripping. | Obvious sources of drafts and comfort complaints. |
Key Takeaways: The pre-insulation energy audit is a non-negotiable first step for any high-performance insulation project. It moves the process from guesswork to a data-driven strategy. The blower door test provides a measurable baseline of your home’s airtightness, while thermal imaging pinpoints the exact locations of heat loss and air leakage. This information is used to create a targeted plan, ensuring the spray foam is applied where it will deliver the best results.
With a clear plan from the energy audit, the next step is selecting the right type of spray foam. The two main types, open-cell and closed-cell, have different properties and are suited for different applications.
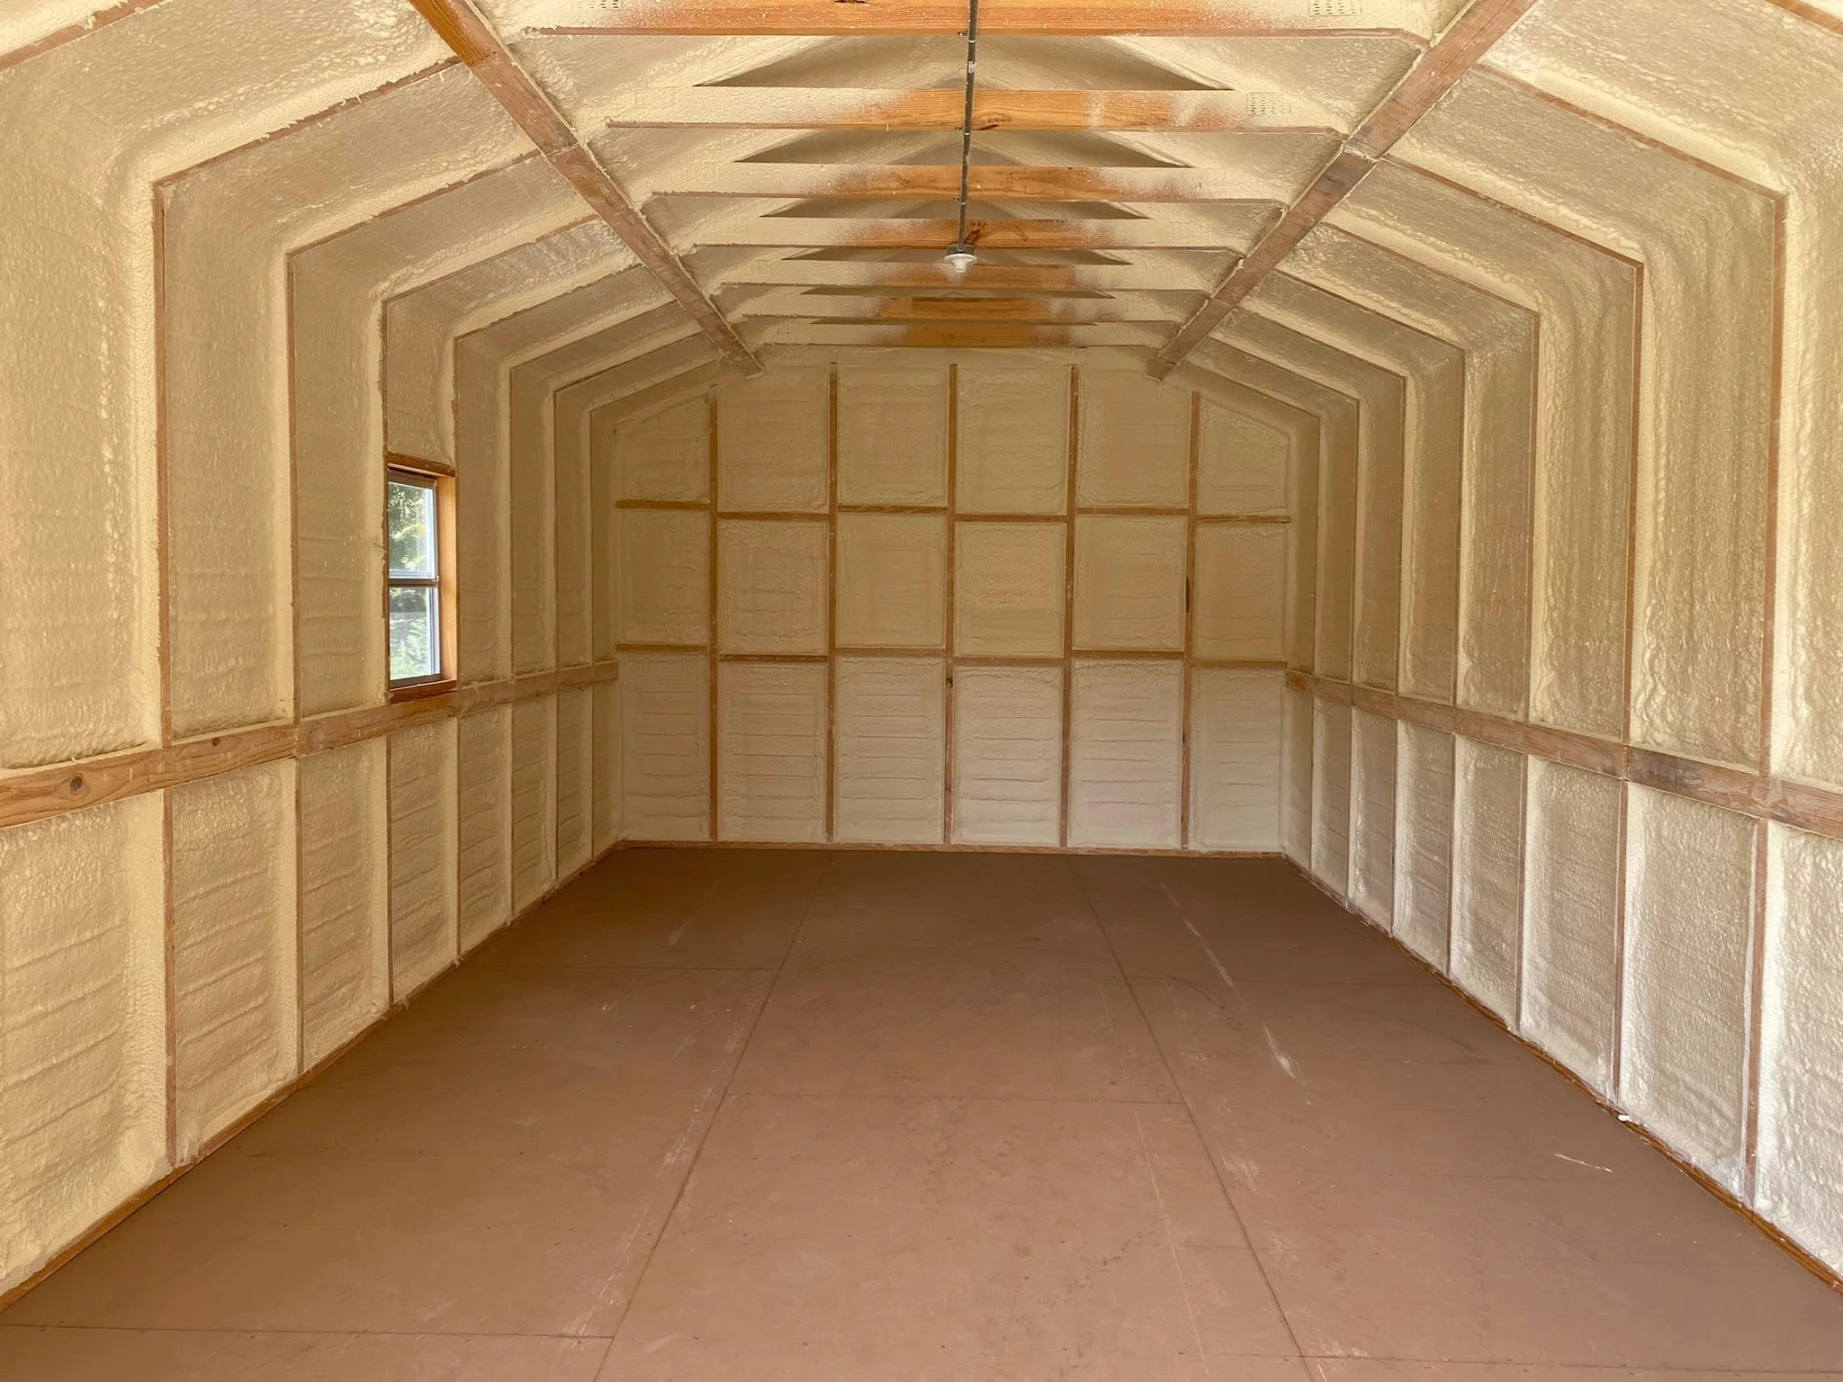
Open-Cell Spray Foam is softer, more flexible, and lighter in density. Its cell structure is not fully enclosed, making it permeable to vapor. It’s an excellent air barrier and sound-dampening agent. It typically has an R-value of around R-3.5 to R-4.5 per inch.
Closed-Cell Spray Foam is rigid, dense, and has a higher R-value, typically R-6.0 to R-7.0 per inch. Its cells are completely closed, making it a vapor barrier that resists moisture. This structural rigidity can even add strength to building assemblies.
Here’s a quick comparison:
| Feature | Open-Cell Spray Foam | Closed-Cell Spray Foam |
|---|---|---|
| R-Value per Inch | ~R-3.5 – R-4.5 | ~R-6.0 – R-7.0 |
| Air Barrier | Yes | Yes |
| Vapor Permeability | Permeable (allows drying) | Impermeable (acts as a vapor barrier) |
| Density & Rigidity | Low density, flexible | High density, rigid |
| Sound Dampening | Excellent | Good |
| Typical Application | Attics, walls, soundproofing | Basements, crawlspaces, areas needing high R-value |
Expert Tip: In a damp environment like a basement or crawlspace, closed-cell foam is almost always the better choice. Its ability to block moisture prevents potential mold and mildew issues that could arise if a vapor-permeable insulation were used below grade.
Your energy audit report should guide this decision. For example, if the goal is to air seal an attic roof deck while allowing the wood to breathe, open-cell might be recommended. If you need to insulate a basement wall and provide a moisture barrier in a single step, closed-cell is the superior option.
A professional spray foam installation is a highly technical process that requires specialized equipment and certified technicians. Proper preparation is essential for a successful and safe application. This includes masking off areas not being sprayed (like windows and floors), ensuring adequate ventilation, and managing temperature and humidity, as these factors can affect how the foam cures.
The foam itself is created on-site by combining two liquid components that react and expand upon contact with the substrate. The technicians apply it using a high-pressure spray gun, building up the desired thickness layer by layer. This process allows them to create a perfect seal around all the tricky spots identified in the energy audit, like plumbing vents and electrical boxes. ALL IN OVERHALL ensures that all technicians are trained to apply the foam to the precise depth required to meet the project’s R-value and air-sealing targets.
How do you know the job was successful? You test it. A follow-up performance assessment is the final and perhaps most satisfying step. It provides concrete proof of the improvements and verifies the return on your investment.
After the spray foam has been installed and has fully cured, the energy advisor returns to conduct a second blower door test. This is the moment of truth. The test is performed under the exact same conditions as the initial one. The new ACH50 number is compared directly to the baseline number.
The reduction is often dramatic. It’s not uncommon to see a home’s air leakage rate cut by 50% or more. Research published by the Office of Energy Efficiency & Renewable Energy shows that effective air sealing and insulation can lead to energy savings of 15% on average, with some homes saving much more depending on their initial condition. This test quantifies the improvement in airtightness, providing a clear, measurable result.
A final scan with the infrared camera confirms the quality of the application. The auditor will look for the same areas that previously showed heat loss or air infiltration. A properly insulated and sealed area will now show a uniform surface temperature. Any spots that were missed or applied too thinly would still show up as hot or cold spots, allowing for immediate correction. This provides a visual quality control check that ensures the thermal envelope is complete.
Expert Tip: Always insist on a post-installation “test-out” as part of your contract. Reputable contractors who are confident in their work will include this verification step to demonstrate the performance improvements to you.
The final step is reviewing the new data with your energy advisor. They will explain what the new, lower blower door number means for your home’s durability, comfort, and energy efficiency. You now have a high-performing home with a tightly sealed building envelope. This often means you can run your HVAC system less, you’ll experience fewer drafts, and the indoor temperature will be more stable and comfortable year-round. You might also need to consider mechanical ventilation to ensure healthy indoor air quality, something a comprehensive audit will address.

While the combination of an energy audit and spray foam is highly effective, there are potential issues to be aware of.
Expert Tip: Don’t just focus on the price per square foot. A quality-focused contractor invests in training, equipment, and a thorough diagnostic process. The contractor who includes a pre- and post-installation audit is demonstrating a commitment to verifiable performance, not just selling a product.
You no longer have to live with a home that feels drafty, uncomfortable, and expensive to operate. By moving beyond simple solutions and adopting a systematic approach, you can achieve lasting results. The combination of a professional energy audit and spray foam insulation is a proven strategy for transforming how your home performs.
The energy audit provides the essential diagnostic data, creating a clear and targeted roadmap for improvement. The spray foam provides the high-performance air seal and insulation needed to execute that plan effectively. Finally, the post-installation assessment verifies the work, giving you measurable proof of a tighter, more efficient, and more comfortable living space. This is not just an upgrade; it’s a long-term investment in your home’s value, durability, and in the comfort of your family.
Navigating the world of building science can feel complex. If you’re ready to stop guessing and start measuring, a professional assessment is the right next step. The team at ALL IN OVERHALL specializes in a data-driven approach to home performance, using diagnostic testing to create customized spray foam insulation solutions. For a comprehensive consultation and to understand your home’s unique needs, you can contact us at (561) 406-3835 or send an email to [email protected].
A home inspection is a visual assessment of a home’s condition, primarily for real estate transactions. An energy audit is a performance-based assessment that uses diagnostic equipment like blower doors and infrared cameras to measure energy use and identify areas for improvement.
While not strictly required, it is highly recommended. Without an audit, you are essentially guessing where your biggest energy losses are. The audit ensures that the insulation is applied in the most effective areas, maximizing your return on investment and solving your home’s specific comfort issues.
The initial energy audit typically takes 2 to 4 hours. The spray foam installation can take 1 to 3 days, depending on the size and complexity of the project. The final post-installation audit usually takes another 1 to 2 hours.
Yes, in most cases. The energy savings from properly installed spray foam can be substantial. The payback period depends on your climate, energy costs, and the initial condition of your home. The energy audit report often includes an estimate of the projected energy savings to help you calculate the return on investment.
Yes. For safety, homeowners and pets are required to vacate the premises during the spray application and for a specified re-entry or re-occupancy time afterward, typically 24 hours. The contractor will advise on the specific requirements for the product being used.
Absolutely. Spray foam is an excellent solution for retrofitting existing homes. It can be installed in attics, crawlspaces, and even in existing walls in some situations. The energy audit is especially important in older homes to identify years of hidden air leaks.

