
What Is the Cost of Open-Cell Spray Foam Insulation in Jupiter, FL?
Open-cell spray foam insulation in Jupiter, Florida, typically costs between $1.50 and $3.50 per square foot installed, with most homeowners…

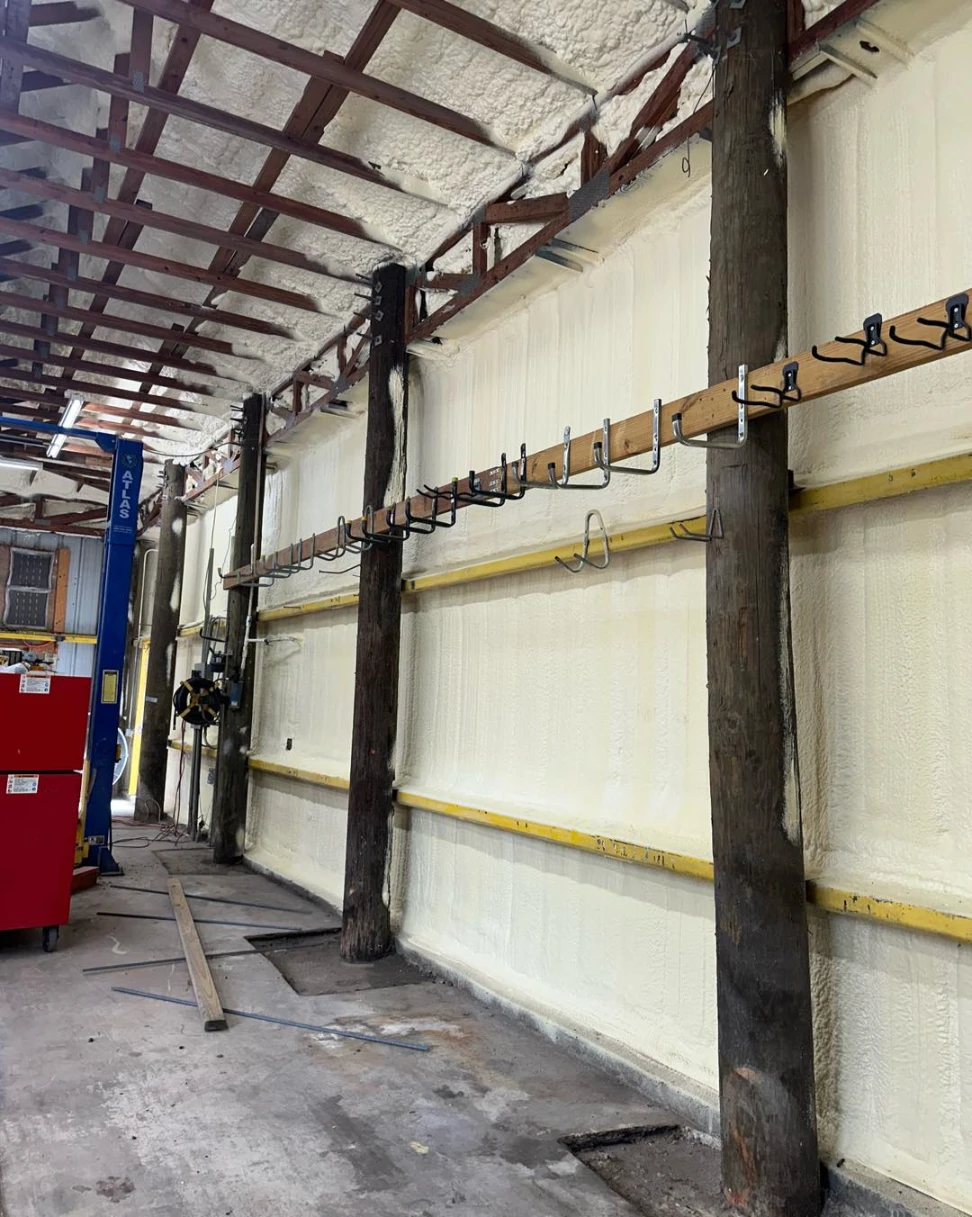
Proper insulation is one of the most effective ways to improve your home’s comfort and slash your energy bills. But the final performance of even the best insulation material depends entirely on the quality of the preparation that comes before it. Skipping these foundational steps is like building a house on a shaky foundation; it simply won’t deliver the results you expect. Many people focus only on the installation day, but the truth is, the work done beforehand makes all the difference between a project that succeeds and one that fails. Proper prep ensures your insulation can do its job effectively, protecting your home from the elements, controlling moisture, and maximizing energy efficiency for decades.
This guide is the result of years of hands-on experience in the field, managing countless insulation projects from start to finish. We’ve seen firsthand what happens when preparation is overlooked and, more importantly, what’s possible when it’s done right. Recent insulation project updates highlight how proper prep and professional methods are driving better performance and energy efficiency across homes. We’ve compiled this step-by-step process to walk you through every essential detail, from the initial inspection to the final pre-application checks. Think of this as your complete playbook for getting the job site ready for a successful, long-lasting insulation application.
Here, you will learn how to:
Following these steps will not only lead to a better installation but will also give you the peace of mind that your investment is fully protected.
Before you move a single thing, you need a complete understanding of the area you’re about to insulate. A careful inspection reveals the hidden issues that could undermine your new insulation’s performance. Taking the time to assess everything up front saves you from costly surprises down the road.
Your first move is to become a detective in your own home. Grab a powerful flashlight and look for signs of trouble. You’re searching for anything that could compromise the insulation, including:
If there’s old insulation in place, you need to know what you’re dealing with. Is it fiberglass batts, blown-in cellulose, or something else? Note its condition. Is it compressed, wet, or degraded? Compressed insulation loses its thermal resistance, or R-value. According to the U.S. Department of Energy, insulation’s R-value is what measures its ability to resist heat flow, and a higher R-value means better insulating power. If the existing material is in poor shape, it’s often best to remove it.
Measure the length and width of the space to calculate the total square footage. For attics, you’ll also want to measure the depth of the existing insulation to get a rough idea of its current R-value. These measurements are essential for determining how much new insulation you’ll need to reach the recommended levels for your specific climate zone.
Building codes often dictate the minimum R-value required for different parts of a home. A quick search on your local municipality’s website or a call to the building department can give you the specific requirements for your area. The International Energy Conservation Code (IECC) provides a baseline for many local codes, outlining insulation needs by climate zone across the country. Ensuring your project is up to code is not just about compliance; it’s about guaranteeing your home is energy efficient and safe.
With your assessment complete, the next phase is physical preparation. A clean, space is non-negotiable for a professional-quality insulation application, especially for spray foam, which requires a clean surface to adhere properly.
If you’ve determined the old insulation has to go, safety is your top priority. Wear a high-quality respirator or mask, goggles, and gloves. Old insulation can contain dust, mold spores, and pest waste. Bag the old material in heavy-duty contractor bags and check local regulations for proper disposal procedures. For materials that might contain asbestos (common in homes built before 1980), it’s best to consult a professional abatement company.
Once the old insulation is out, it’s time for a deep clean. Use a shop vacuum with a HEPA filter to remove all dust, dirt, and debris from the surfaces. This includes vacuuming between joists or studs, around the edges, and on any exposed decking. A truly clean surface ensures that air sealing materials and new insulation will bond correctly and last longer.
If you’re working in an attic or basement that’s used for storage, all items must be removed from the work area. This not only protects your belongings from dust and overspray but also gives the installation team the clear access they need to do a thorough job.
| Task | Description | Completed |
|---|---|---|
| Remove Valuables | Take out all boxes, furniture, and personal items from the work area. | ☐ |
| Vacuum Surfaces | Thoroughly vacuum all dust and debris from floors, joists, and decking. | ☐ |
| Wipe Down Surfaces | If applying spray foam, wipe down surfaces to ensure proper adhesion. | ☐ |
| Dispose of Old Material | Properly bag and dispose of any removed insulation according to local rules. | ☐ |
| Check for Pests/Mold | Perform a final check for any pest or mold issues that need remediation. | ☐ |
If you do only one thing before adding insulation, make it this. Air sealing is the process of finding and closing up all the small gaps, cracks, and holes that allow conditioned air to leak out of your home and outside air to leak in. Insulating without air sealing is like wearing a winter coat full of holes. You won’t get the full benefit.
The U.S. Environmental Protection Agency’s ENERGY STAR program reports that air leaks can account for a significant portion of a home’s heating and cooling costs. These leaks often happen in the very places you’re about to insulate, like the attic floor or basement ceiling. Once you cover these gaps with a thick layer of insulation, they become nearly impossible to access again. Sealing them first creates a continuous air barrier, which allows your insulation to work as intended.
Focus your efforts on the most common culprits. In an attic, this includes:
The right material depends on the size of the gap.
Expert Tip: To find subtle air leaks, you can use a smoke pencil or a lit incense stick on a breezy day. Hold it near common leak spots and watch the smoke. If it wavers or gets sucked out, you’ve found a leak.
An insulation project involves working in tight spaces with materials that can be irritating or hazardous. Taking proper safety precautions is not optional. It protects your health and prevents damage to your home.
Always wear the right gear. This isn’t the place to cut corners.
Before work begins, prepare the rest of your house. Lay down drop cloths or plastic sheeting along all pathways from the entrance to the work area. Use painter’s tape and plastic to cover any nearby furniture, walls, or fixtures that could be exposed to dust or overspray, especially when using spray foam.
Be extremely cautious around electricity. Turn off the power to any circuits in the area you’re working on. Never cover recessed light fixtures with insulation unless they are “Insulation Contact” (IC) rated. Covering a non-IC-rated fixture creates a serious fire hazard. A report from the U.S. Fire Administration highlights how electrical failures or malfunctions are a leading cause of home fires, making this precaution incredibly important.
Proper ventilation in the workspace is also important, both for your safety and to help materials cure correctly. Open windows or use fans to create airflow.

The final preparation stage involves dealing with all the systems that run through your walls, ceilings, and floors. You can’t just cover them up; you have to work around them correctly to ensure safety and performance.
Carefully work around all electrical wiring. Don’t compress wires with insulation, and ensure all junction boxes remain accessible. Building codes require that junction box covers remain exposed. You can build a box around them with rigid foam board to keep them from being buried by loose-fill insulation.
Just like with wiring, you need to insulate around pipes and ductwork, not over them in a way that leaves gaps. For pipes, you can use foam pipe sleeves. For ductwork, ensure you seal any leaks with mastic sealant before insulating around them. This prevents energy loss from your HVAC system.
In attics, it’s absolutely essential to maintain a clear path for air to flow from your soffit vents (at the low end of the roof) to your ridge or gable vents (at the high end). This airflow prevents moisture buildup and ice dams in the winter. Install baffles or rafter vents at the eaves to keep insulation from blocking the soffits. This simple step protects the health of your roof structure and the effectiveness of your insulation. According to publications from the University of Massachusetts Amherst, proper attic ventilation is a key part of an effective home energy system.
Expert Tip: Take pictures of the prepared area before insulation is applied. This creates a record of where wires, pipes, and junction boxes are located in case you need to access them in the future.
Before you or your contractor starts applying insulation, run through this final checklist. This last look ensures every preparation task is complete and the site is ready for a perfect installation.
| Checkpoint | Status | Notes |
|---|---|---|
| Area is completely clear and clean. | ☐ | No storage items, debris, or dust remaining. |
| All air leaks have been sealed. | ☐ | Gaps around pipes, wires, and vents are filled. |
| Old insulation is removed (if necessary). | ☐ | The area is clear of old, damaged material. |
| Safety measures are in place. | ☐ | PPE is ready, property is protected, and power is off. |
| Ventilation baffles are installed. | ☐ | Soffit vents are clear and protected. |
| Obstructions are addressed. | ☐ | Junction boxes are marked, and recessed lights are safe. |
You now have a complete roadmap for preparing any space in your home for new insulation. As you can see, a successful project is built on a series of careful, deliberate steps. By taking the time to thoroughly assess, clean, air seal, and protect the area, you are setting the stage for your new insulation to perform at its absolute best.
This preparation work is your insurance policy. It ensures your investment in high-quality insulation materials pays off in the form of lower energy bills, a more comfortable living environment, and a healthier home. Use this guide as your reference, follow the checklists, and don’t cut corners. The effort you put in now will be rewarded for years to come.
The preparation process can be demanding, and doing it right requires attention to detail. If you’re feeling overwhelmed or want to ensure the job is done to professional standards, expert help is available. The team at ALL IN OVERHALL has the experience to handle every aspect of insulation preparation and application, ensuring your home is protected and efficient. For a professional consultation or to discuss your project, you can reach us at (561) 406-3835 or send an email to [email protected].
Sometimes. If the existing insulation is dry, free of mold and pests, and not overly compressed, you can often add more on top. This is common in attics with blown-in insulation. However, if the old insulation is damaged or you’re switching to a different type like spray foam, complete removal is usually necessary.
This varies widely based on the size and condition of the area. A small, clean attic might only take a few hours to prepare. A large space that requires extensive cleaning, old insulation removal, and significant air sealing could take a full day or more.
Clear signs include visible water damage or stains, evidence of mold or mildew, significant pest infestation (droppings, nests), or if the material is heavily compressed or degraded. Also, any insulation that has a strong, musty odor should be removed.
In most cases, adding insulation to an existing home does not require a permit. However, if the project is part of a larger renovation or new construction, a permit is almost always required. It’s always a good idea to check with your local building department to be certain.
Yes, it is arguably the most important step. Without proper air sealing, your insulation’s R-value is compromised by constant air movement. It’s the combination of an air barrier and a thermal barrier that delivers true energy efficiency and comfort.
The most common mistake is skipping the air sealing step. Many people assume that adding a thick layer of insulation is enough, but they miss the opportunity to stop the air leaks that are a huge source of energy loss. The second biggest mistake is blocking attic ventilation at the soffits.

